No code
The button is an app block in your theme, placed by drag and drop in the theme editor.

HomeVisioner
This guide takes you from the Shopify App Store to the first room preview on your product page. You need no code and no new product images. If you get stuck anywhere, we set it up with you for free.
The button is an app block in your theme, placed by drag and drop in the theme editor.
You enable the button per collection or per product – it appears only there.
Through the app's Support page or [email protected] we set up the button together with you.
All you need is access to your Shopify admin. Good to know:
Open “HomeVisioner: Room Visualizer” on the Shopify App Store and install it for your store. You then find it in your admin under Apps. The dashboard shows a “Get started” checklist that walks you through the steps below.
You pick the plan in Shopify, and it appears on your Shopify invoice rather than as a separate bill. The Free plan includes 20 visualizations a month but has to be selected: with no plan chosen, the widget creates no previews. Starter can be tried free for 14 days. You can change plans any time under “Billing”.
Open “Manage” and switch on the collections whose product pages should show the button. Single products are enabled on the “Products” tab. New products added to an enabled collection inherit the setting automatically.
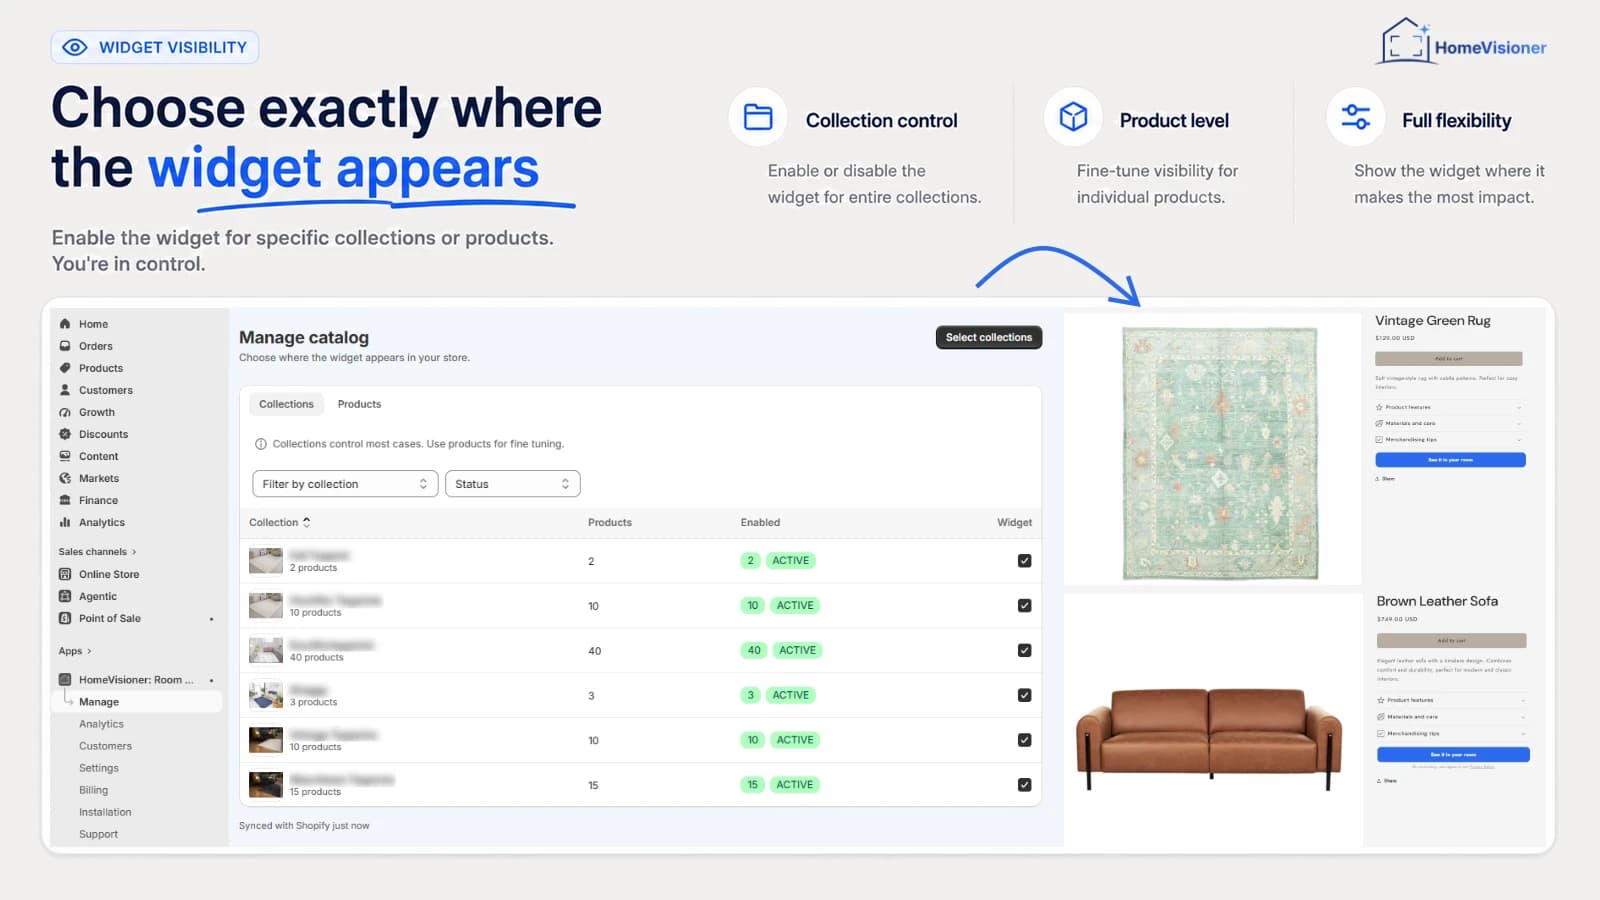
In the checklist, click “Add block to theme”. The theme editor opens on the product template with the HomeVisioner block already added. Drag it next to the Add to cart button and click Save.
Under “Settings” you set the button's text, style (filled, outline or gradient), colour, size, corner radius, icon and font; “Match your store” can take over one of your theme's button looks. In the theme editor, the block itself has the button width (25–100%, on desktop) and alignment. On phones the button stays full width, like Add to cart.
Open an enabled product page, tap the button, upload a room photo and create the first preview. It is ready in seconds. The checklist then ticks off “Test the widget”.
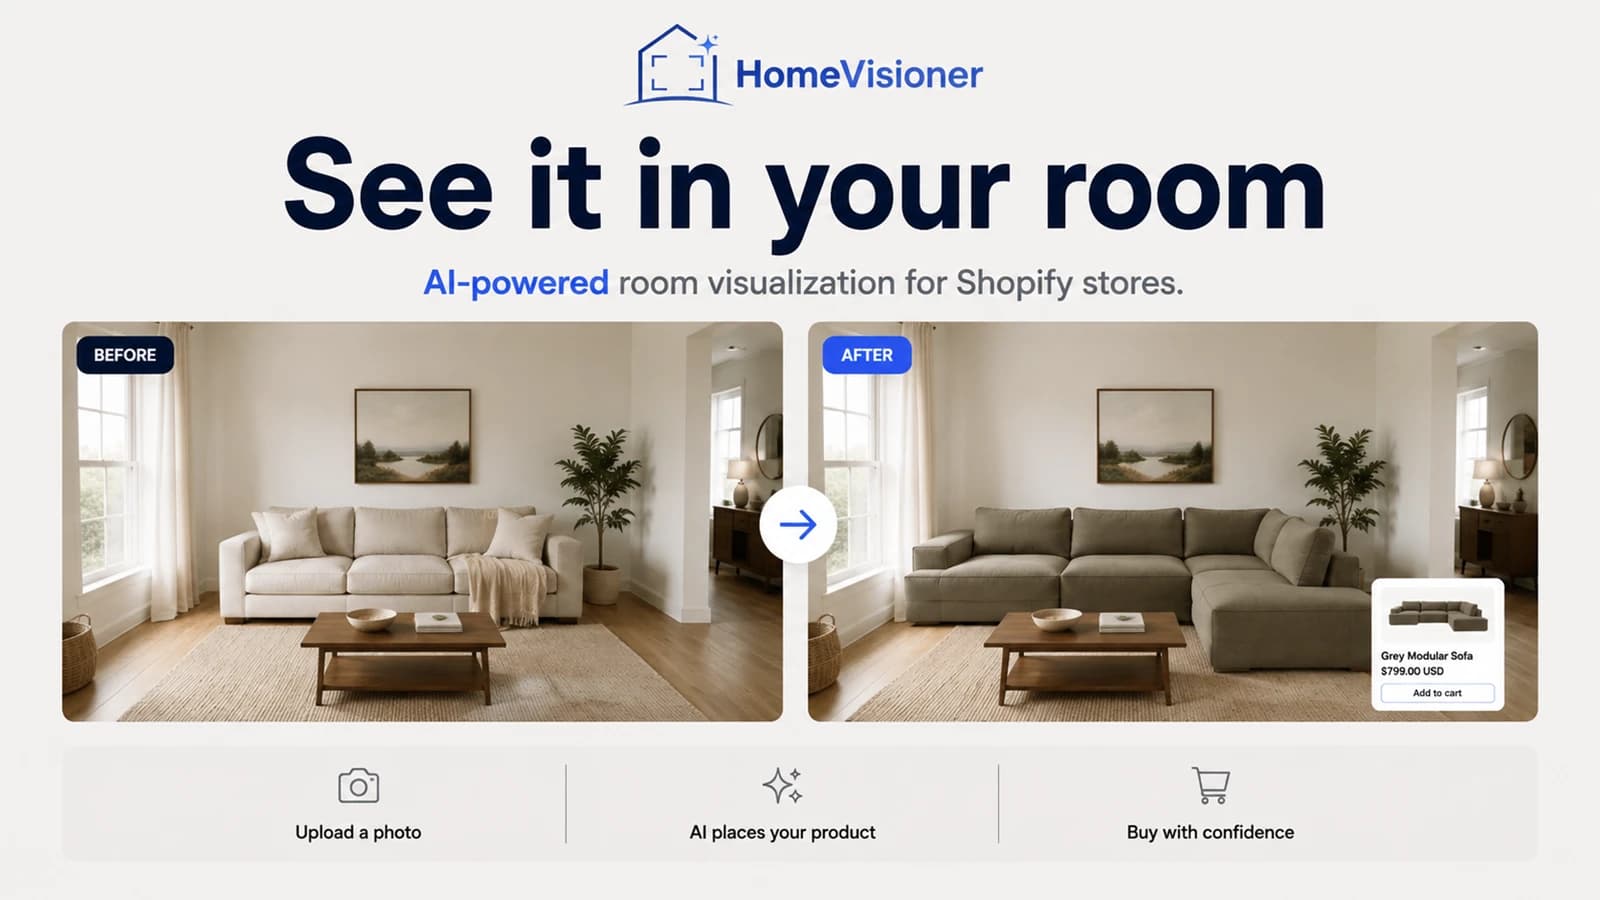
Email capture is on by default: after one visualization, the widget asks for an email address. Under “Settings” you decide after how many visualizations it asks and how many visualizations a visitor can create per day. The leads collected appear under “Customers”.
The widget shows these two examples on its upload screen itself. If you want to give shoppers tips in your store, these are the ones that matter.
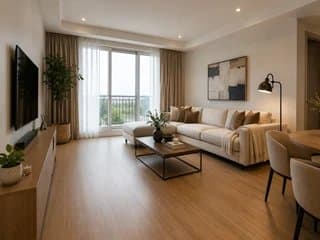
What works
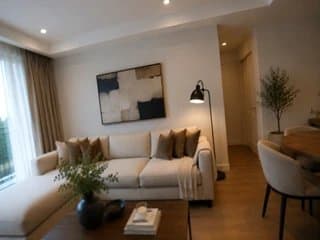
Better avoid
Check in this order:
No. The button is a theme app block: no Liquid, no CSS, no JavaScript.
Online Store 2.0 themes through the app block. Older (vintage) themes are supported through the app embed.
Yes. Under “Manage” you enable collections or single products. Products not enabled there do not show the button, even if the block is in the template.
No. HomeVisioner uses the product images already in your store.
Yes, for free. Write through the app's Support page or to [email protected], and we will put the button in the right place with you.