
HomeVisioner for furniture stores Your furniture in your shopper's room, before they buy.
A “See it in your room” button on the product page: the shopper uploads a photo of their living room and sees your sofa, dining table or bed in it. It runs on the product photos you already have, with no 3D model.
- Free plan
- Free setup support
- No 3D model needed
- Room photos deleted after 30 days
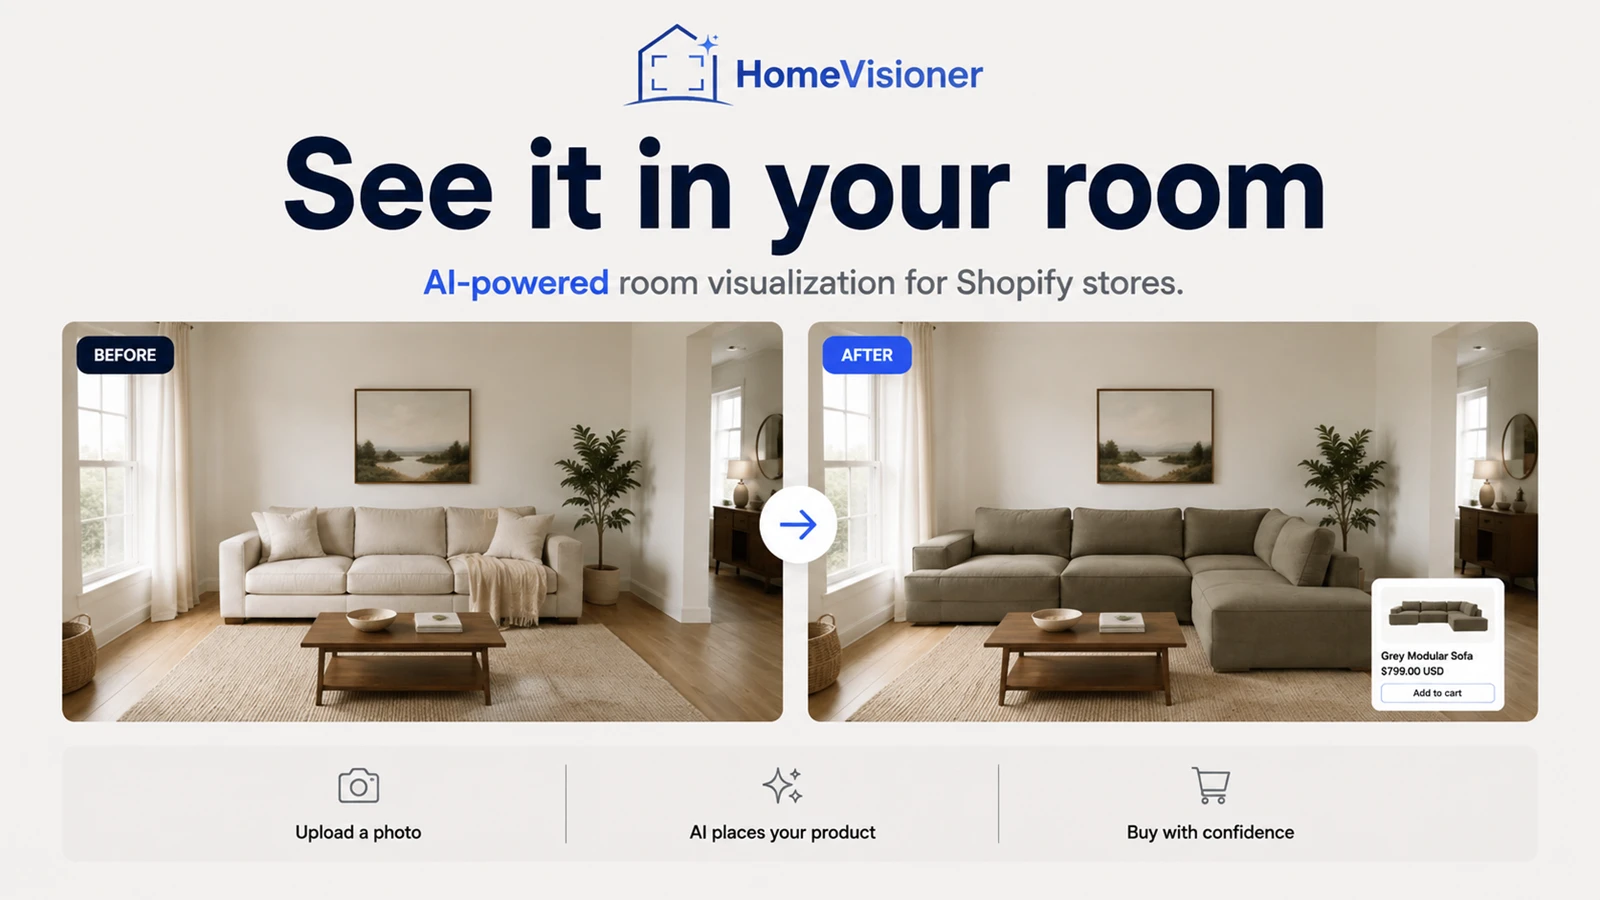
Your product photo plus their room photo
That is all the preview needs. You supply nothing new: the button uses the image already on the product.
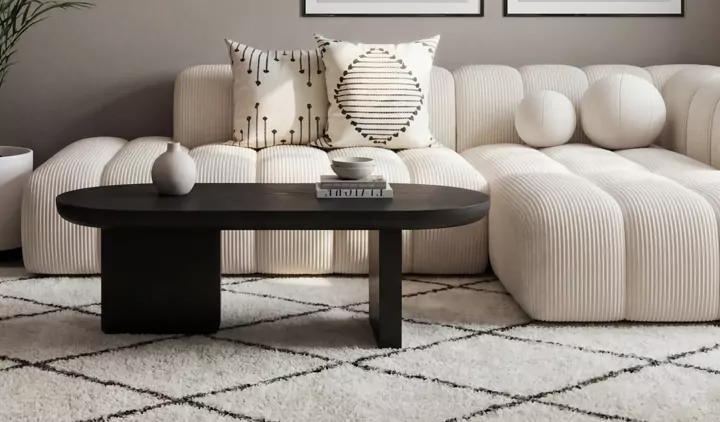 From you
The product photo you already have
The image from your catalogue. No 3D model, no scan, no new shoot.
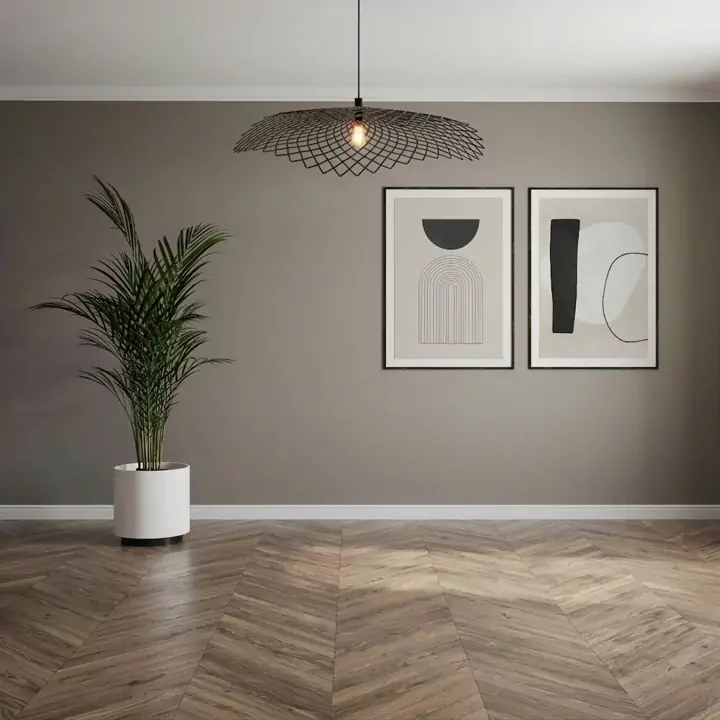 From the shopper
A photo of their own room
Taken on the phone or picked from the gallery, right on your product page, with no app and no account.
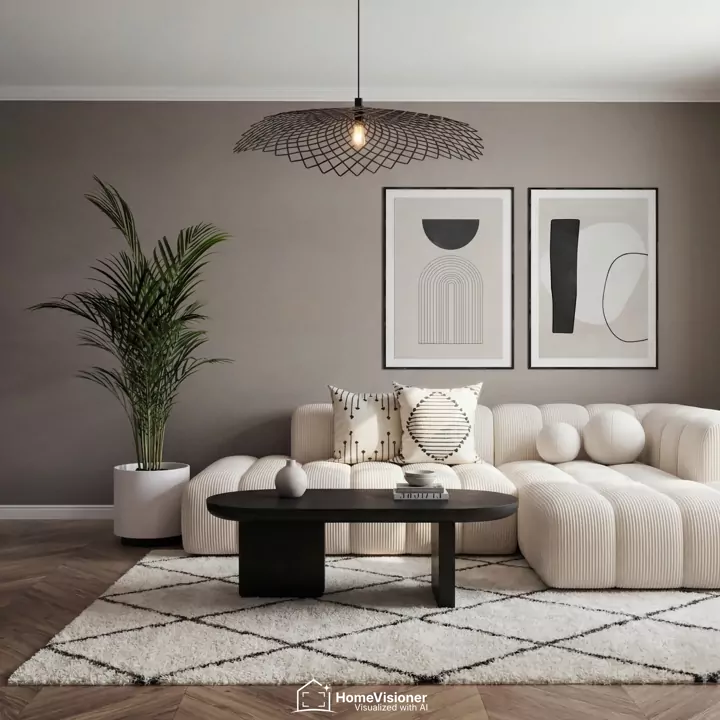 The result
Your piece in their room
With matching perspective, light and shadow, in seconds.
Which furniture works
Anything that stands or hangs in the room as a single piece is placed into the photo as an object. That is the app's default mode, so a furniture catalogue needs no switching.
Upholstery
Sofas, sectionals, armchairs
Tables and chairs
Dining tables, coffee tables, chairs
Bedroom
Beds, nightstands
Storage
Shelving, sideboards, dressers
Lighting
Floor, table and pendant lamps
Home decor
Wall art, vases, rugs
Examples from real visualizations
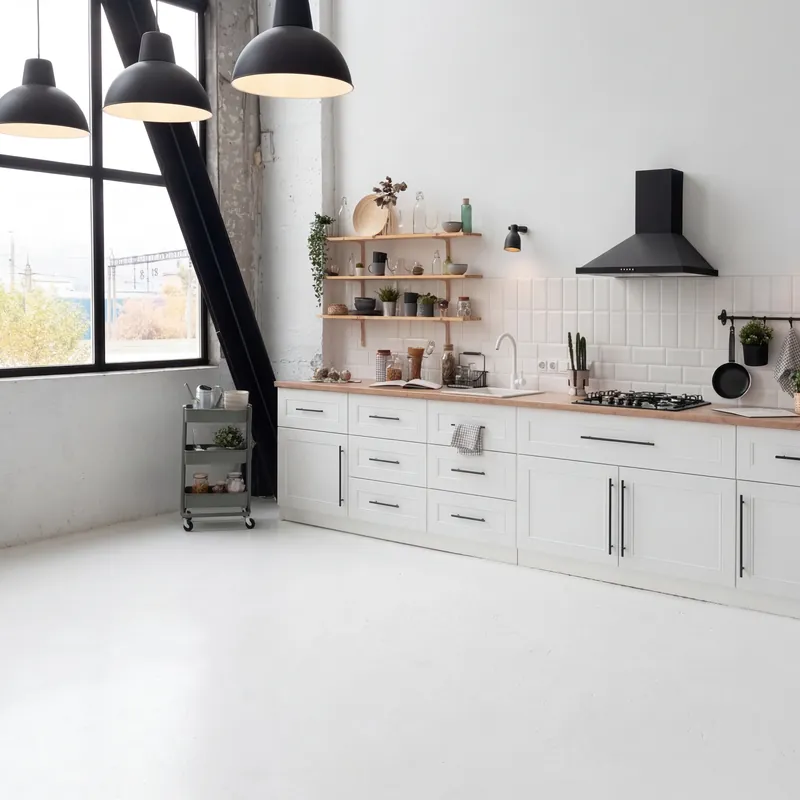 Before
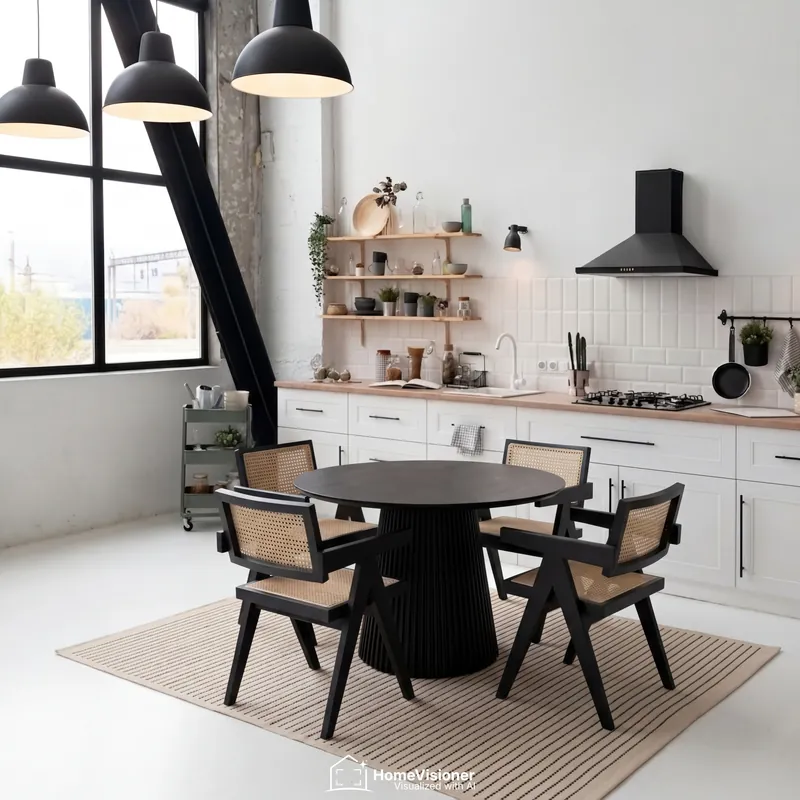 After
AfterDining area
Round dining table with chairs and a rug
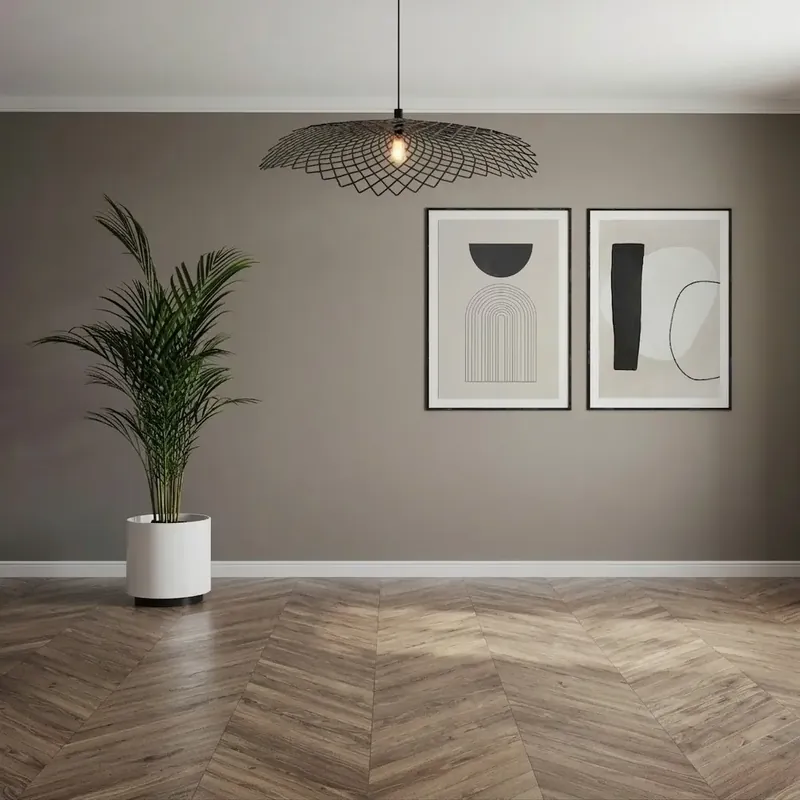 Before
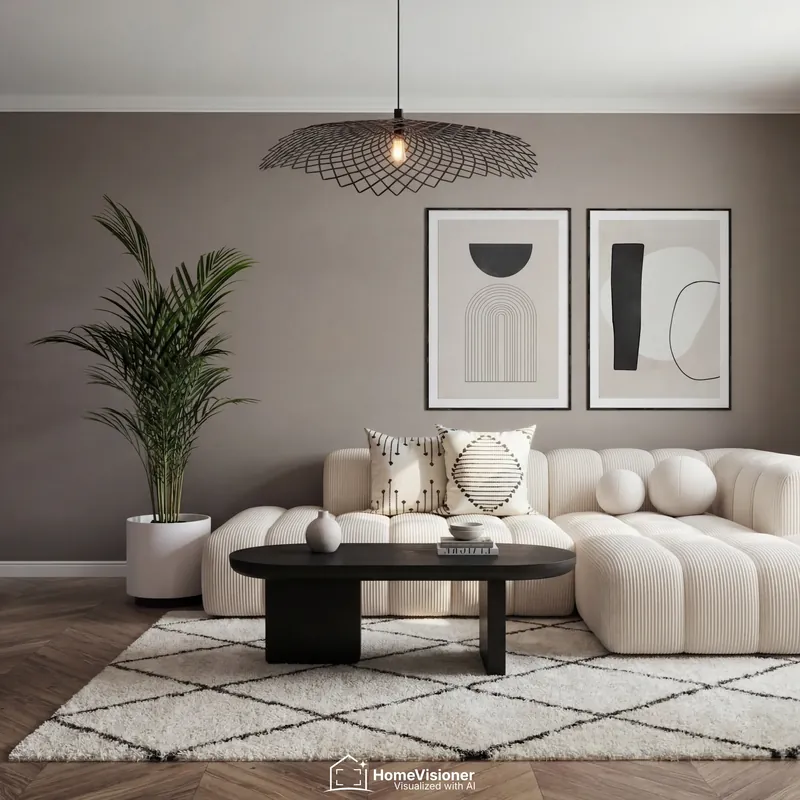 After
AfterLiving room
Sofa, coffee table and rug
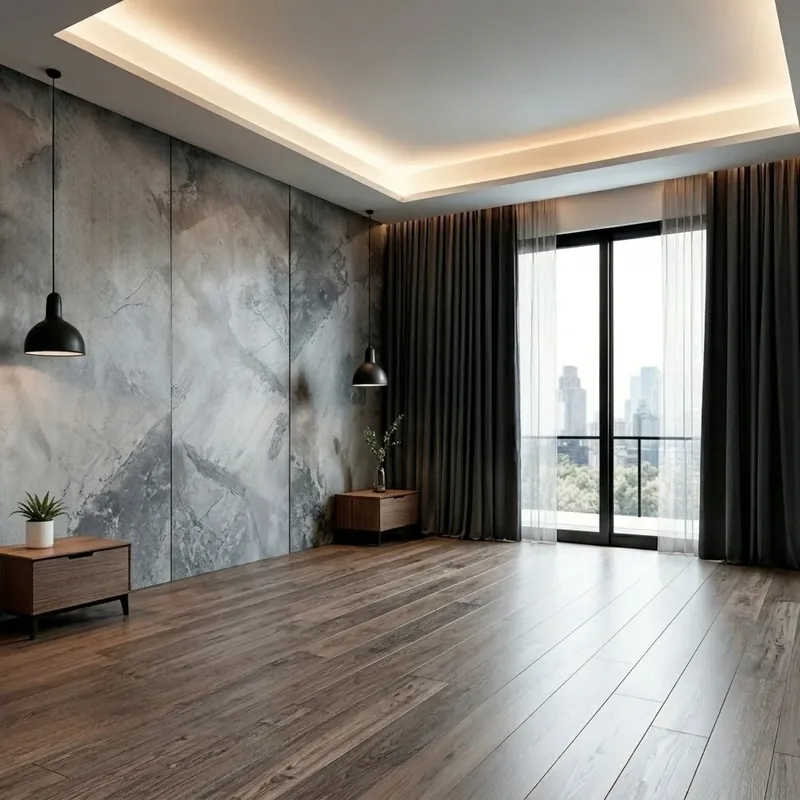 Before
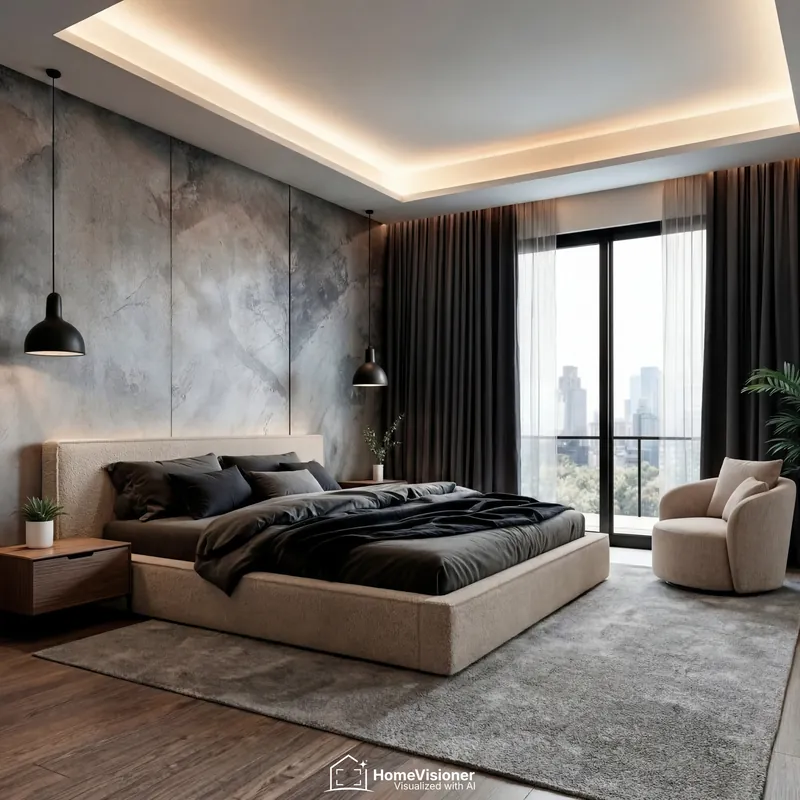 After
AfterBedroom
Bed, armchair and rug
These are sample visualizations created with HomeVisioner.
Selling flooring or wall coverings too?
- Object
- Furniture, lighting, decor and rugs: the product is placed in the room.
- Flooring
- Hardwood, laminate, vinyl: the whole floor surface is replaced.
- Wall covering
- Wallpaper and wall panels: the wall surface is replaced.
Which photos make good previews
Quality comes down to two images: your product photo and the shopper's room photo.
Your product photo
- Your existing product images are enough; there is nothing to model.
- A clear image of the piece on a transparent or simple background works best.
- If the product has variants, such as upholstery colours, and the shopper picks another one after the preview, they can create a new preview for it in one click.
The shopper's room photo
What works
- Wide angle, with the room clearly visible
- Phone held horizontally for wider coverage
- Good light
- The floor where the piece will stand is in the shot
- Open, uncluttered spaces
Best avoided
- Close-ups
- People in the shot: photos with a visible face are not processed
Optional: a placement or size hint
Before starting, the shopper can add a short note on where the piece should go, for example “near the sofa, around 120 cm tall”.
What your shoppers see
Everything happens on your product page. No app download, no account.
- 1
A button on the product page
It appears on the products or categories you switch on, styled to fit your store.
- 2
Upload a room photo
Take a photo or choose one from the gallery, and optionally add a placement or size hint.
- 3
Compare before and after
In seconds, a slider shows the room with and without your piece. The result can be downloaded and shared.
- 4
Add to cart from the preview
Pick a variant and add it to the cart straight from the result; on Shopify you switch this on or off in Settings.
The preview is an AI rendering: scale and proportions are a guide only and do not replace measuring. The result itself says so too.
What your analytics show
The app records what happens after a preview, with no extra tracking setup.
Visualizations
How often and by how many shoppers products were visualized, over time and by product.
Leads
After a few previews the widget can ask for an email address; marketing consent is a separate box that is never pre-ticked. The list exports as CSV.
Attributed orders and revenue
Orders that followed a visualization and could be matched to it, with their revenue and a funnel from preview to lead to order. What you see depends on your plan.
Attribution means the order came after the visualization. It does not prove the preview caused the purchase. How we measure
Live in minutes, with no code
On both platforms the button reaches the product page without theme programming.
Shopify
- 1Install the app from the Shopify App Store and choose a plan.
- 2Drag the HomeVisioner block into your product template in the Theme Editor (Online Store 2.0 themes).
- 3In Manage, switch on the products or collections that should show the button.

- 1Install the app from the ikas App Store.
- 2The button places itself next to “Sepete ekle”; you pick its style and colours in the panel.
- 3Switch on categories and products, and pick the mode: furniture, floor or wall.
Free setup support
If you get stuck, we set the button up together with you, free of charge.
Plans
Start free and move up when you need more visualizations.
Shopify
- FreeFree20 visualizations / month
- Starter$14.99 / month100 visualizations / month · 14-day free trial
- Growth$49.99 / month300 visualizations / month
- Pro$149.99 / month1,000 visualizations / month
Billed by Shopify in USD. Free, Starter and Growth stop at their quota; only Pro can optionally continue ($0.17 per visualization, limit up to $85/month).
- FreeFree20 visualizations / month
- Starter€24.99 / month100 visualizations / month · 14-day free trial
- Growth€74.99 / month300 visualizations / month
- Pro€199.99 / month1,000 visualizations / month
Billed in euros. On paid plans the widget can continue past the quota at an extra charge, under a monthly limit you set, or you switch extra usage off.
Questions furniture retailers ask
Show your furniture where it will stand.
Install HomeVisioner, switch on your furniture and start on the free plan.